Topx_Decal

Decal
What
Allows to "print" an image on a solid's face.
Why
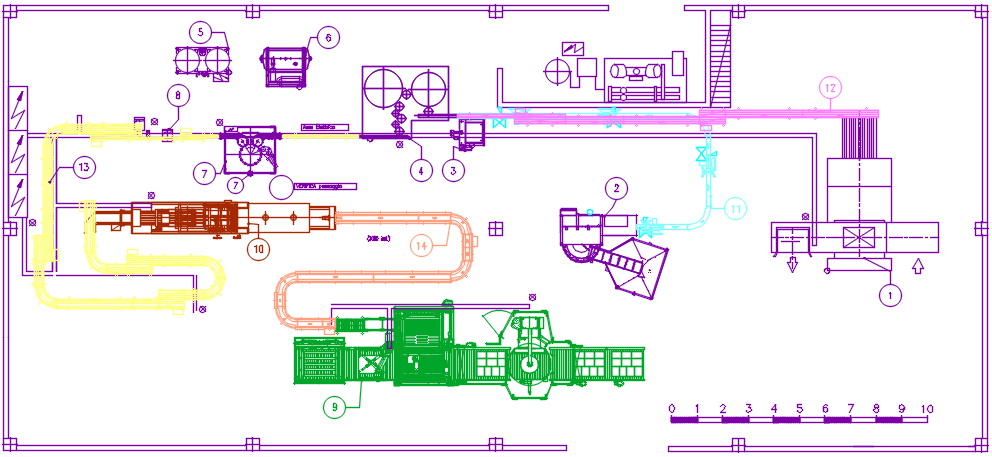
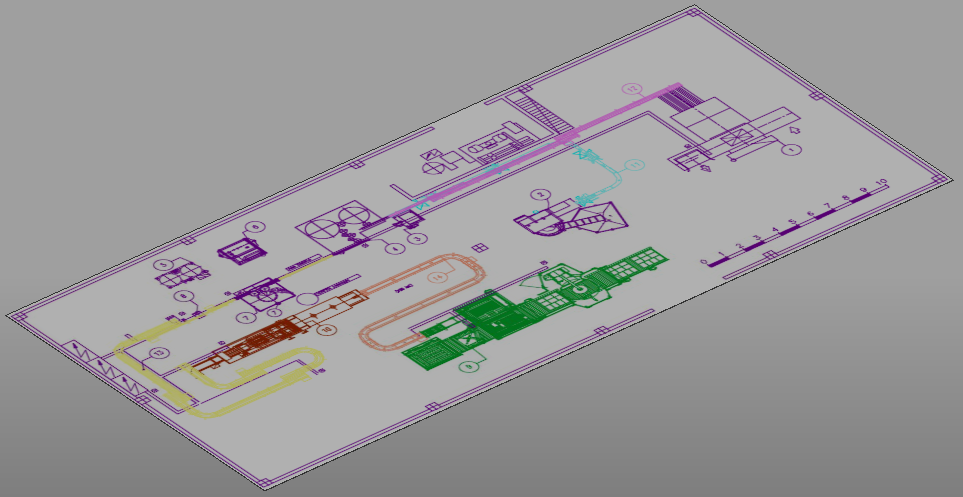
It is used, as in the example below, to insert a 2D drawing on the floor of a plant to prepare for 3D rendering.
How
You need to get a 2D image. If the image is created by the CAD you need to cut the outer borders that occupy useless space. Once a good quality image has been obtained it can be inserted with the standard CAD command (_IMAGEATTACH).

The image must be scaled correctly. Once inserted, you need to take the measure between two known points and calculate the correct scale factor to have correct sizes.
By launching the TOPX_DECAL command you'll be asked to select the image, then the material thickness and if you want to delete the source image.

Be sure that the current view style consents a correct representation of materials (Modelling, Mechanical...)
To maintain the correct orienteering, the solid is attached to a block named "QSDECALn" where "n" is a progressive value.
The command is typically used it a Rendering or VR environment with bidimensional geometries. The typical case is the 2D drawing shown on which 3D model is developed.