Top_Gole
Undercuts
Ribbon: Top Mechanical Draw > Mechanical Draw > Undercuts
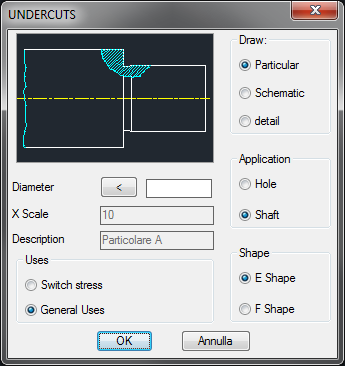
A useful command to draw grooves. It is possible to insert the necessary lines to signal the presence of a groove. The data on the grooves will be described in the table UNI 4386-75 and they are used to create a standard drawing.
- What
- Draws a groove with three different views.
- Why
- To draw a groove describing in the dialogue-box only the main data.
- How
- This command displays the dialogue-box necessary to select the view type of the groove: Detail, Schematic and Zoom. In the first case, the groove is drawn in detail, according to the values set in the dialogue-box. In the second case, a continuous thin line representing the groove and a note describing the groove according the table UNI 4386-75, are inserted in the drawing. In the third case, the groove is zoomed with its dimensions. Insert the shaft’s or the hole’s diameter, press OK in the dialogue-box, then follow the instructions displayed in the command-line.

