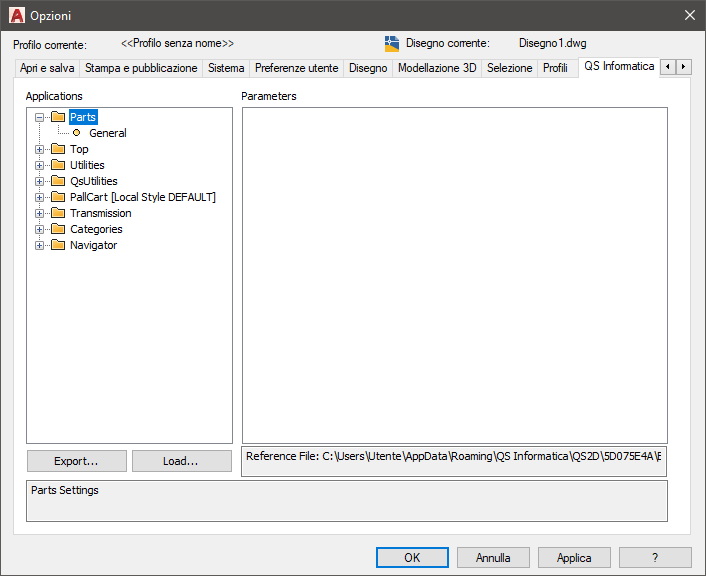
Qs Informatica Options Dialogue
In the AutoCAD option window exists an entry entirely dedicated to the Qs Informatica application’s setups.

With this window it is possible to set all the application’s variables and the client’s customisations. Setting-up the application’s options with this system, it instantly modifies the application. Compared to the other methods to set-up the variables, the dialogue of the options is faster, easier, more efficient and centralizes the settings in one control. At the left of the dialogue we can see the application tree where are registered all applications which show their settings. Each application has sections which divides logically the variables according to their main group. The sections are similar to the concept of section we also find in old customization files. Activating a section at the left of the dialogue the scenery in the parameter window on the right will change. Each section contains one or more catalogues, which are a second level of discrimination of the variable. As in the hereinabove example, each TOP type of line is represented by a catalogue, which is composed by properties (the structure’s last level). The property is the real variable. The property has a fixed description on the left which identifies the reference option, and a variable part on the right which allows the user to carry out the settings. According to the type of property, the data insertion area presents different controls to make the setting’s value more efficient and safe. If I have a variable which contains a path I can carry out the settings through a file/directory research dialogue; if I have to set a colour, the AutoCAD colour control dialogue will appear, so on so forth. It is possible to export and import application settings with the two buttons in the dialogue under the application tree. This allows to rapidly clone the settings on different workstations.
The Export button requests to save a configuration file qsswtting.qss (in XML format) which contains all the properties set in that moment.
The Import button requests to select a file with a .qss extension.
Once ended the settings it is possible to click on Ok or Apply to confirm the modifications, or Cancel not to save them.